Build your first app
Create your codeWriting your first code
So now we are ready for the fun part; writing the code! After following this guide, you will eventually end up with an app which shows a new ribbon and when clicking the button, it will show an alert with the name of the current Sigma estimate.
We will step-wise build up the code, so you shouldn’t be afraid by now. The steps are as following:
- Create a “Hello world” alert
- Update alert with the name of the current (active) Sigma project
- Build the ribbon and button
#1 – Create the “Hello World” alert
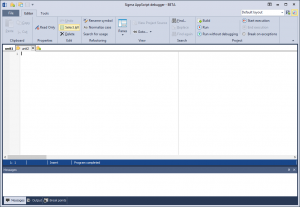
- Insert the following code in the AppScript editor and press “Run”:
Showmessage("Hello Sigma World!");
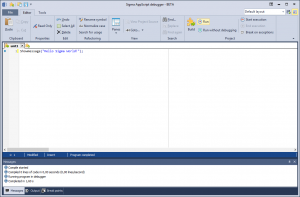

- In Sigma you should now see a similar result:
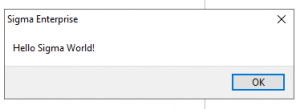
If you see this dialog, you have successfully written and executed your first line of Sigma AppScript code. This was ofcourse a very simple task, so let’s continue and extend the app a little.
#2 – Update alert with the name of the current (active) Sigma project
In this task we will now replace the static text in the alert box with the name of the active Sigma file.
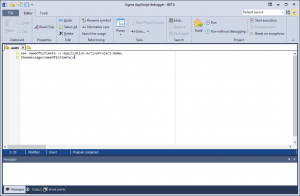
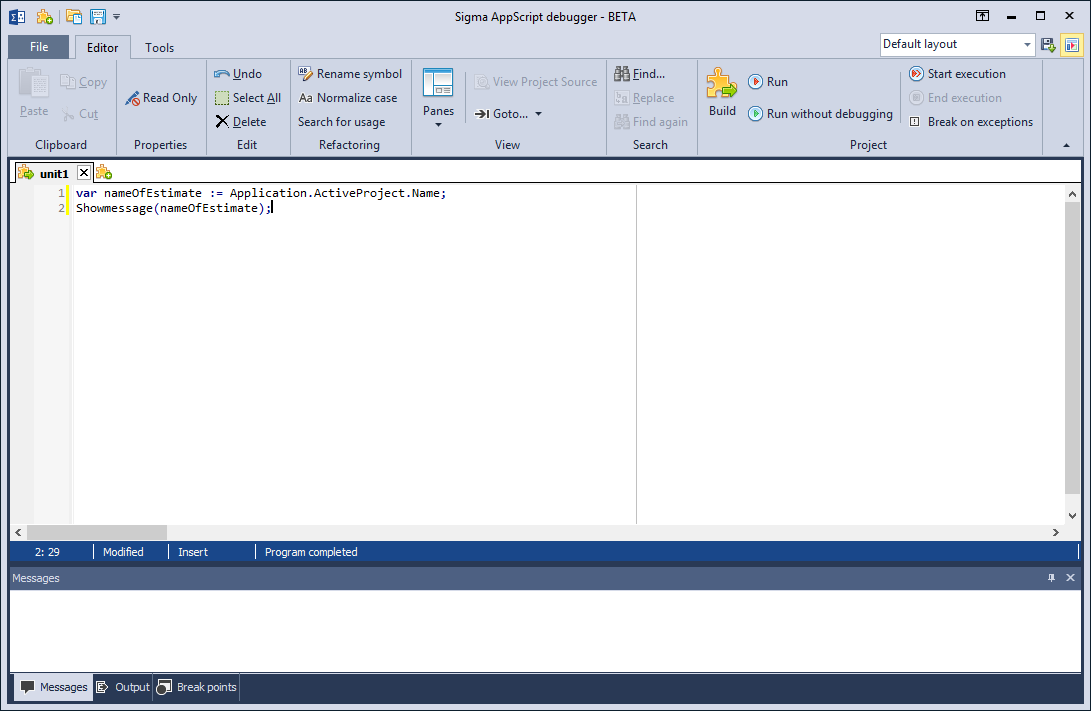
- Firstly we want to save the name in a new variable. Thus you need to add a new line of code in the beginning of the editor:
var nameOfEstimate := Application.ActiveProject.Name;
- Now you need to update the 2nd line of code, which you added from the prior task, so the value from the variable will be shown instead of the static text. The result of the changes should look like this:
Showmessage(nameOfEstimate);
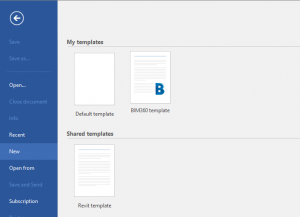
- Before you hit “Run” and execute your code, you must open or create a new Sigma project.
In Sigma go to Files > New > Select a template
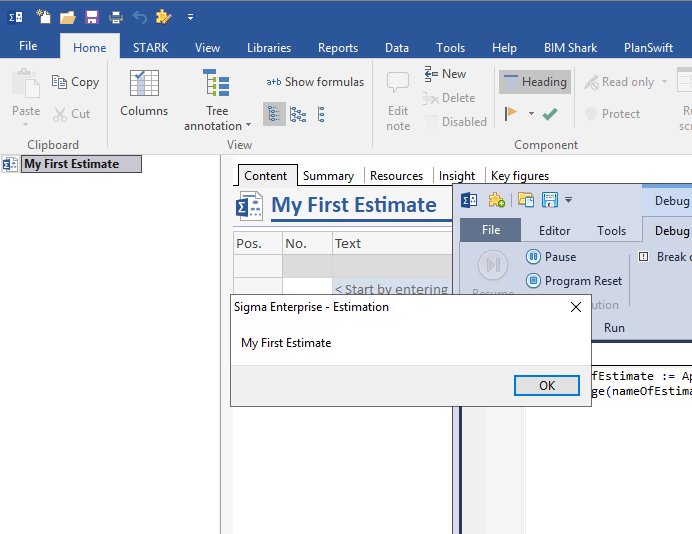
- Once the Sigma file has been created or loaded, it’s now finally time to hit “Run” in the editor.
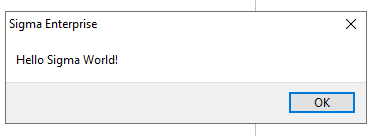
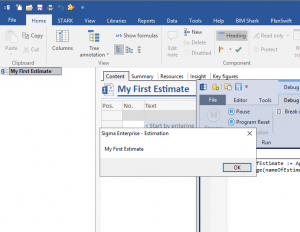
- If you have followed all the steps correctly, you should now see the name of the active Sigma project file:

#3 – Building the UI
Well done! You are now ready for the last part of writing the code, which may also be the hardest. You will finally create a ribbon with a single button for executing your code.
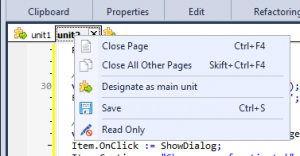
- First you need to create a new tab in the editor by clicking the small icon
 :
:
- In this new tap copy and paste the following code:
unit HelloWorld; interface uses Sigma.Document, System.UI.Dialogs, System.UI.Ribbon; type THelloWorld = class private public RibbonTab: TRibbonTab; procedure AddRibbon(); procedure ShowDialog(Sender: TRibbonItem); end; implementation procedure THelloWorld.AddRibbon(); begin //Create new tab and group RibbonTab := Ribbon.Tabs.Add; RibbonTab.Caption := 'My First Ribbon'; //Create a group var FGroup := RibbonTab.Groups.Insert(0); FGroup.Caption := 'My First App Buttons'; //Add button to execute App var Item := FGroup.Items.Add(TRibbonLargeButtonItem); Item.OnClick := ShowDialog; Item.Caption := "Show name of estimate!"; end; procedure THelloWorld.ShowDialog(Sender: TRibbonItem); begin //Code for showing dialog end; initialization var HelloWorld := THelloWorld.Create(); HelloWorld.AddRibbon(); finalization HelloWorld.RibbonTab.Free; HelloWorld.Free; - Now try execute your code by right-clicking on the tab and select “Designate as main unit”:
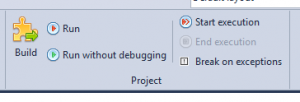
- Secondly press “Build” and afterwards “Start execute” – and you should now see your new ribbon:
- Now go back to the first tab in order to view your prior code and copy the code into the procedure
procedure THelloWorld.ShowDialog(Sender: TRibbonItem);
so you will end up with the following code inside the procedure:procedure THelloWorld.ShowDialog(Sender: TRibbonItem); begin //Code for showing dialog var nameOfEstimate := Application.ActiveProject.Name; Showmessage(nameOfEstimate); end; - When clicking “End Execution” followed by “Start Execution” in the code-editor ribbon, you should now see the ribbon and button once again. Try hitting the button again and see what happens.

- If you succeed with the prior steps in this guide you should yet be prompted with the name of the Sigma project as soon as you click the button:


Let’s continue to the last part of the guide, where we will “bundle” your code, so it will be easy to distribute and execute for other Sigma users.